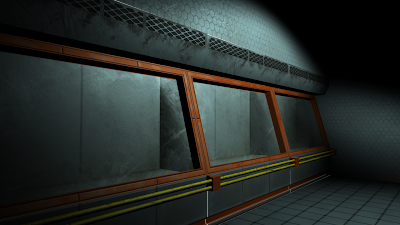
This is the final render of the asset in 3dsmax.
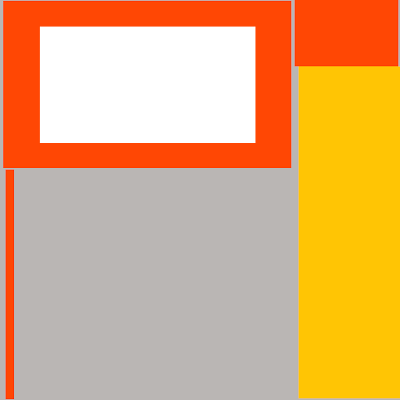
Before I go into any detail in the texture I check the proportions of colors in the game. I do this by a simple color overlay above the UVs. This is normally fast and ugly and is just to make sure everything still works before I invest more time.
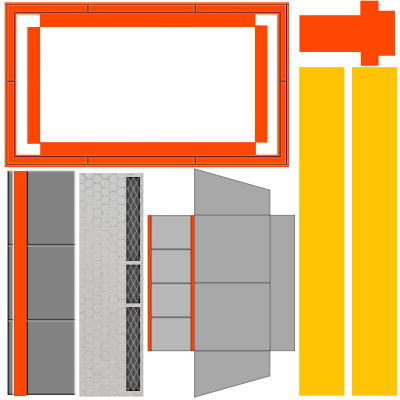
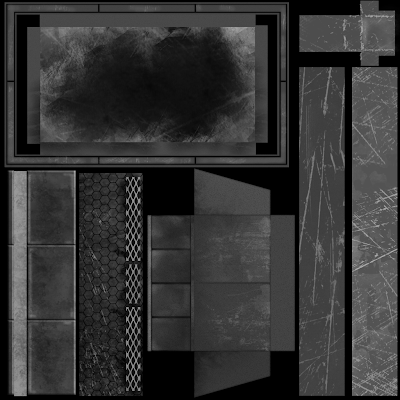
After the colors are correct and proportions of them are set. I then block in all the major forms. These are pretty much the details of the model besides the dirt,dust,grime, and human touches.
After the forms are correct and it still looks good in game I add all the textures that it will encounter in its environment. this is everything from external forces like worn spots from multiple human contant to self enducing like exhaust stains from vents.
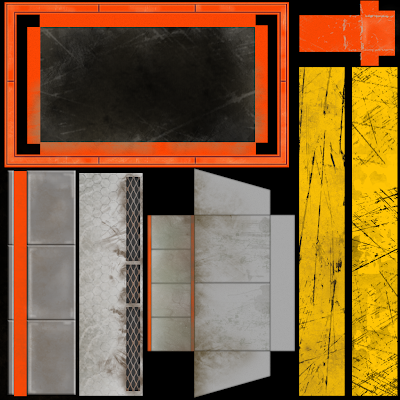
I duplicate my layers, then go over those layers in my photoshop file and think of specularity and change every texture to correctly match how it would reflect light.
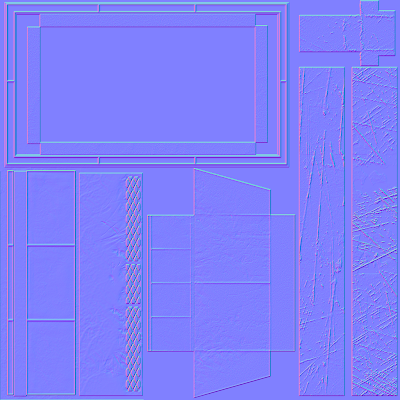
I then go over a simular process and do it for how the height is changed per texture and create a normal map.

No comments:
Post a Comment